
If your employer has granted you access to the WorkZone app and enabled you to clock in/out from the WorkZone app you can access this feature from the employee dashboard once you log in.
How to Clock in/out
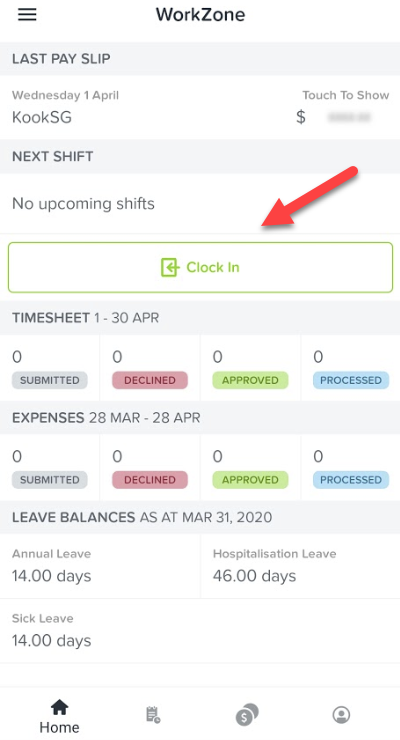
Step 1: When logged in, the employee dashboard will display a ‘Clock In’ option. Tap on ‘Clock In’:
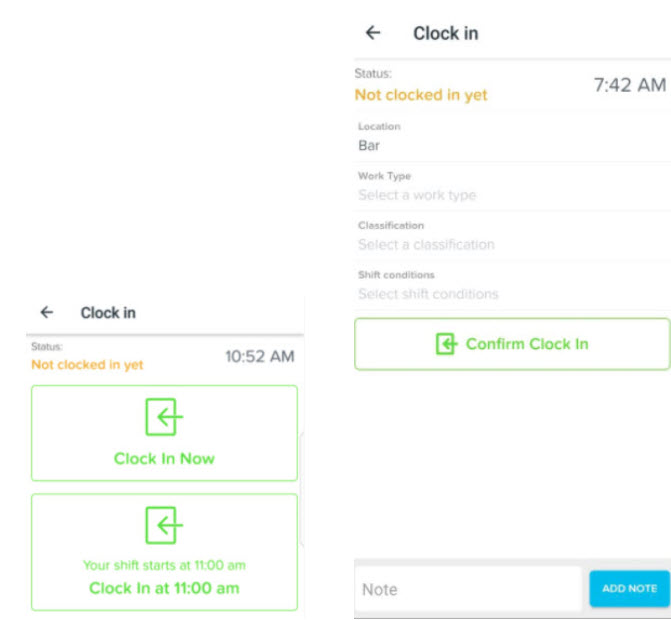
Step 2: This next step varies based on the options your Employer has set up for you. Some of these options include:
- If there is a rostered shift (and it is within the time parameters set), the employee will have the choice to 'clock in now' or 'clock in at rostered time';
- The location (this will auto-populate if the employee only has access to one location);
- A work type (may not be required for every shift and will only appear if the employee has work types activated in their profile);
- A higher classification (if the setting is activated for the employee and within the portal settings – and, of course, this is only required when working higher duties);
- Any relevant shift conditions (if a shift condition is attached to the location the employee has selected, the shift condition will auto-populate).
- The employee can add a note relevant to the shift
- Option to Confirm Clock In
Step 3: You will be required to take a photo (if this setting has been enabled)
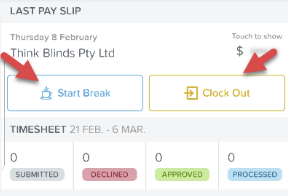
Step 4: You will then need to tap on ‘Start Break’ (if you are required to capture break times) or tap on ‘Clock Out’ to finish your shift. Both activities will require a photo to be taken (only if this setting has been enabled):
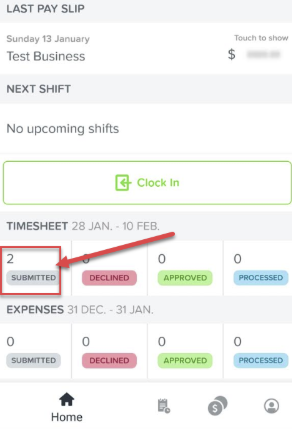
Once you have clocked out of your shift this will automatically create and submit a timesheet for the shift. You can view this timesheet from the submitted timesheet section on your WorkZone app home screen:
If you haven’t already, you can download WorkZone immediately by clicking here:
![]()
![]()